

The quest for the perfect "fab at home" PCB solution continues. This week, we started playing around with "Direct PCB Printing" for making printed circuit boards (PCBs).
First, here is a quick recap on how to make PCBs at home.
To start with off, you need a layout. I'm currently designing the schematic and PCB layout with Eagle Cad and either outputting image files in monochrome or printing directly from the program. Exporting the images has the advantage that I can put multiple PCBs onto one board or page to save materials. Printing directly from the program is simpler.
Once I have the artwork, I fab the board and drill using a Dremel-brand micro drill press and carbide PCB drills. We buy resharpened carbide PCB drills on eBay. Common sizes are #52-#70. For best results, get a pair of dial calipers and mic the pins on any through-hole components you will be using.
For the fab part, there are basically 3 methods that are practical to do at home:
1. Photo resist:
Laser or inkjet print to transparency paper, expose your image onto a pre-sensitized PCB board (you generally buy them this way), develop, etch. You can buy these from Mouser, Digikey, or your local electronics store.
Advantages: Tried and true method, good resolution.
Disadvantges: Messy, need glass exposure frame and bright sun or a UV light, extra chemicals involved. Double-sided boards are possible but you need to line the images up carefully before exposure.
2. Toner transfer:
Laser print or photocopy your image to Press-n-peel or specific types of glossy paper stock, then iron the image on to your bare copper PCB. Any PCB stock will do, but it must be cleaned with sandpaper and degreased with acetone before applying the transfer. Remove the paper by
soaking in water, tocuh up any bare spots, etch. Works best if you use a laminator or a very hot iron.
Advantages: Cheap, easy, moderate resolution. No chemical needed other than etching solution. Double-sided is easy - you can drill some of the holes after you transfer the pattern for the first side, making it super easy to line up the second side artwork on a light table.
Disadvantages: Can leave pinholes or bare spots that need touching up, paper can be hard to remove. A new 2-step kit called "Fab-in-a-Box" is supposed to address this. I just ordered it, so I will let y'all know how it works when I'm done testing. Works best with medium sized (i.e. 16mil+) traces.
3. Inkjet PCB printing:
This is the new up-and-comer. The basic process involves either printing
on a modified Epson inkjet, or using a stock model that accepts CD-ROMs
and a special adapter. You clean the board like you would for toner
transfer, load it into the printer, and let it do it's thing.
A special refill ink called "MIS PRO Yellow" is typically loaded in
one of those aftermarket refill cartridges. Once printed, the board
is "cured" by heating the ink on a hot plate, and, depending on the
results you are getting, sometimes a second coat is printed and cured.
Etching is the same as above.
In another variation, some toner or powder-coat is dusted onto the wet ink
before cooking. This results in a very strong coating with one pass.
Advantages: Amazing resolution. 8mil traces are possible, although I've
only done 10mil so far. Clean and neat, and misprinted or smudged boards
can be re-used by wiping off the ink with acetone.
Disadvantages: Can only print specific sizes (the adapter I have in mine
does 3.5x2.5" boards at 1/32" thick). Larger boards require modifying the
printer extensively, and attaching a tape leader to feed the board.
Process is a little fiddly and you have to play with the margins, ink
settings, etc for good results.
So far, the results are promising. We bought the kit from Full Spectrum Engineering and then set about finding a suitable inkjet printer. Fortunately for us, there is a Goodwill Industries computer center nearby. For $15, I picked up an Epson R200. This printer has two properties that we need:
1. It accepts CD-ROMs (the boards we use fit into a CD tray adapter)
2. It has an piezo-electric print head that will run a variety of inks.
Ours was missing the CD tray, but it turns out that these are available all day on eBay for around $10. Next, we needed a blank ink cartridge and a bottle of Yellow MIS-PRO ink. We also needed a way to reset the empty cartridges so that the printer will actually try to print.
For about $30, we found all of the necessary supplies at Ink Supply, including a chip resetter tool, a self-resetting empty cartridge, and the ink.
After lining up the adapter in the tray and taping it on, cleaning the 2.5x2.5" PCB blanks with 320 grit sandpaper and acetone, we ran some boards. The first one was less than spectacular, as I failed to read the directions and only ran one coat, then failed to cure at a high enough temperature. The best result (board #4) was obtained by running a pass of MIS-Pro ink, then dusting with power coat powder and heat curing. This created a very solid resist with clearly visible 10mil traces. Photo is below:

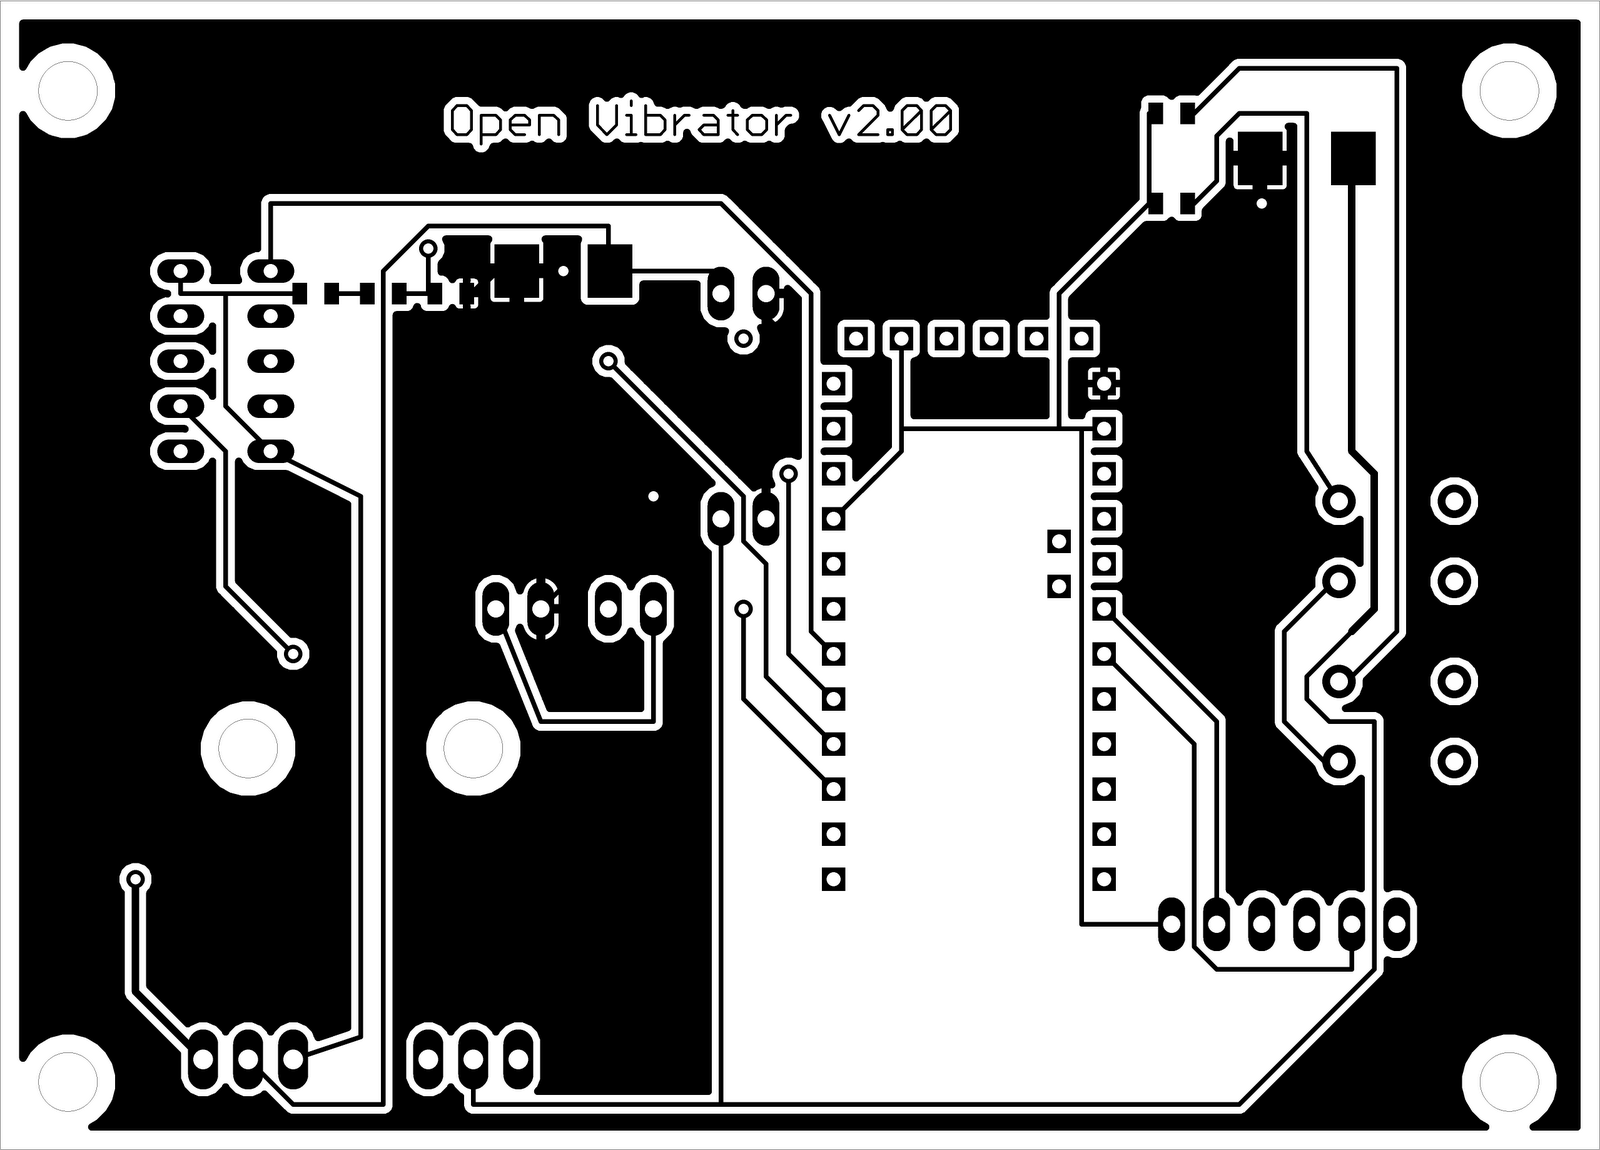
And here is the original art work:
So there is still more work to do, but I think this one may be a winner.
Arclight
I knew I recognized that board from somewhere.
ReplyDeleteGood stuff, keep at it. I'm amazed at what people can do with this technology and its potential.
ReplyDelete